
Cloud PBX Voicemail: Custom Greetings & After-Hours Setup
Table of Contents
Introduction to Voicemail
Use PBX.IM's Voice Mail functionality for the moments when you or your agents aren't available to answer the call. It's like having an answering machine, but with enhanced capabilities.
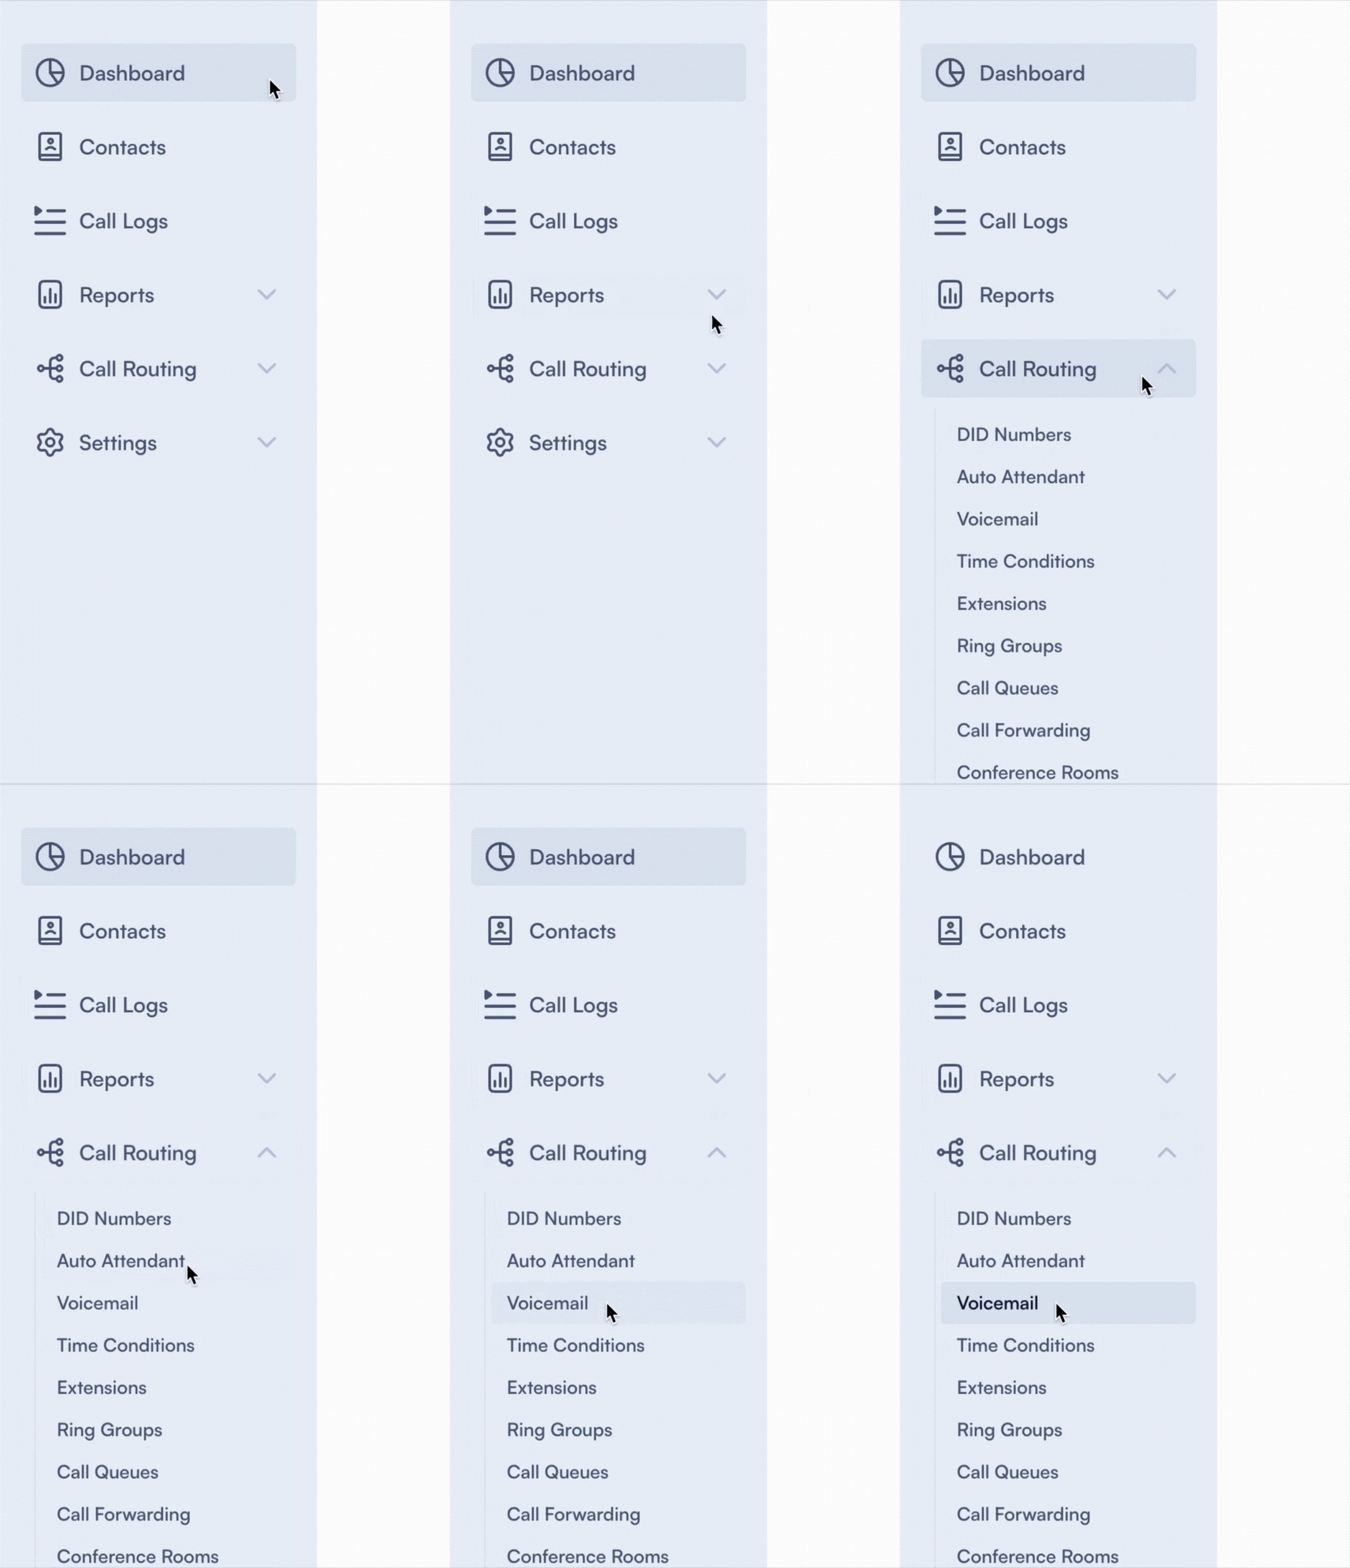
Access the Voicemail menu:
- Log into PBX.IM Dashboard
- Go to "Call Routing"
- Select "Voicemail" from the drop down menu
Set up a Voicemail
Click on ''Add Voicemail''

Complete the form by following the next steps:
| Type | Purpose | How to use |
|---|---|---|
| Name | This field is where you can enter a name to identify the voicemail box. | Write the name and press Enter. |
| Skip greeting | Skips the greeting message and sends callers straight to the recording tone. Turn this on if you don't want callers to hear a greeting before leaving their message. | Turn the toggle on to skip the greeting. Leave it off to play a greeting. Turning it on hides the Greeting dropdown, since no greeting is played. |
| Skip Voicemail Operation Instructions | Skips the automated system prompts (for example, "record after the tone, press 1 when finished"). Turn this on for a cleaner experience where callers hear only your greeting and the beep. | Turn the toggle on to skip the instructions. Leave it off to play them. |
| Greeting | The greeting callers hear when they reach your voicemail. This dropdown only appears when Skip greeting is off. | From the dropdown menu, select the greeting you want to add. The dropdown lists all the media files you added under the Media tab in the Menu. |
| Access code | This is where you enter a PIN (Personal Identification Number) which is required to access the voicemail box remotely. This adds a layer of security, ensuring that only individuals with the PIN can listen to the voicemails. | Type in the PIN you want to add for each Voicemail. For security reasons, we recommend that you avoid using codes like 1234 or 0000. |
| Email notification | When this toggle is on, the system sends an email notification every time a new voicemail is received. | Turn the toggle on to customize the email settings as follows: Email — Enter the email address where you want voicemail notifications to be sent. Attach Voicemail Recording — When on, the actual voicemail recording is attached to the notification email. Email Subject — Customize the subject line using tokens like {vm_box_name} and {datetime}. Insert Token — Use the dropdown to insert predefined tokens into your email subject or body. Leave the toggle off if you don't want this option. |
If you want to edit or delete any voicemail, go to the main Voicemail page and click on the ✏️ Edit or Delete option.
Common Use Cases
1. Customer Support After Hours
- Scenario: Customers often try to contact support after regular business hours, leading to missed opportunities for resolving issues promptly.
- Solution: Set up voicemail to automatically activate outside of business hours, ensuring customers can leave messages that are addressed the next business day.
2. Executive Availability
- Scenario: You might be a high-level executive who has back-to-back meetings, making it challenging for you to respond to calls in real-time.
- Solution: Voicemail for executives can be customized with a personal greeting and urgent call filtering. Urgent messages can be transcribed and sent via email, ensuring that critical information is promptly relayed, allowing for timely responses.
3. Medical Professional Availability
- Scenario: Patients often need to contact their healthcare providers after clinic hours for emergencies or urgent queries.
- Solution: Healthcare providers can use voicemail services that include options for patients to mark messages as urgent.