
Contact Us Widget
[!NOTE] This page covers the widget's configuration popup. Some accounts instead open a full-page editor with General, Routing, Call & Chat and Integration tabs — if that is what you see, follow Web Widget Builder. The visitor-facing behaviour described on this page applies to both.
Table of Contents
- What is PBX.IM Contact Us Widget?
- Key Features
- How to Add and Configure the Contact Us Widget
- Step 1 – Navigate to Contact Us Widget Settings
- Step 2 – Configure Widget Settings
- Step 3 – Integration & Testing
- How to Integrate the Widget Into Your Website
- What visitors see when they call
- FAQs
What is PBX.IM Contact us Widget?
The PBX.IM Contact us Widget is a chat-style bubble that can be embedded into your website. It provides a “Call Now” button, enabling your visitors to instantly connect with your team without waiting for delayed responses.
When a visitor clicks the Call Now button, it automatically initiates a call to a pre-configured destination (such as an extension, queue, IVR, call group, voicemail, or an external phone number, or more). This makes it easy for your customers to reach you directly from your website.
Key Features
- Instant Calling – Customers can contact your team with a single click.
- Shareable Link – Share a unique link via SMS or email. When customers click it, the Contact Us widget opens on their desktop or mobile device, allowing them to instantly trigger a call.
- Custom Branding – Add your company logo, title, and colors to match your brand.
- Flexible Routing – Route calls to a queue, IVR, single extension, or any other system of your choice.
- Optional Settings – Record calls, request caller names, or show a keypad for IVR routing.
- In-Call Controls – Visitors get a live call timer, mute/unmute, speaker and microphone selection, and a minimize option while they talk.
- Responsive Design – Works seamlessly on both desktop and mobile devices.
How to Add and Configure the Contact Us Widget
There are only 3 steps required to add the PBX.IM Contact Us Widget to your website.
Step 1 – Navigate to Contact Us Widget Settings
- Go to Settings > General > Integration.
- Locate the Contact Us Widget section and click Add.

Step 2 – Configure Widget Settings A configuration popup will appear with two panels:
- Right Panel -- Widget Preview
- Displays a live preview of your widget.
- Upload your logo, edit title, and description using the Edit (pencil) icon.
- Left Panel -- Widget Configuration
- Where you customize widget settings.
General Settings
- Widget Name -- Enter a name for the widget (for internal reference).
- Position -- Choose the widget placement: Bottom Left or Bottom Right.
- Active -- New widgets are active by default. Toggle off at any time to hide the widget from your site without deleting it.
- Show Keypad -- Enable if the call is routed to an IVR requiring keypad input.
- Record Calls -- Toggle on to record calls placed through the widget (subject to your recording permissions).
- Request Caller Name -- Ask the visitor for their name before the call connects, so it shows up with the call.
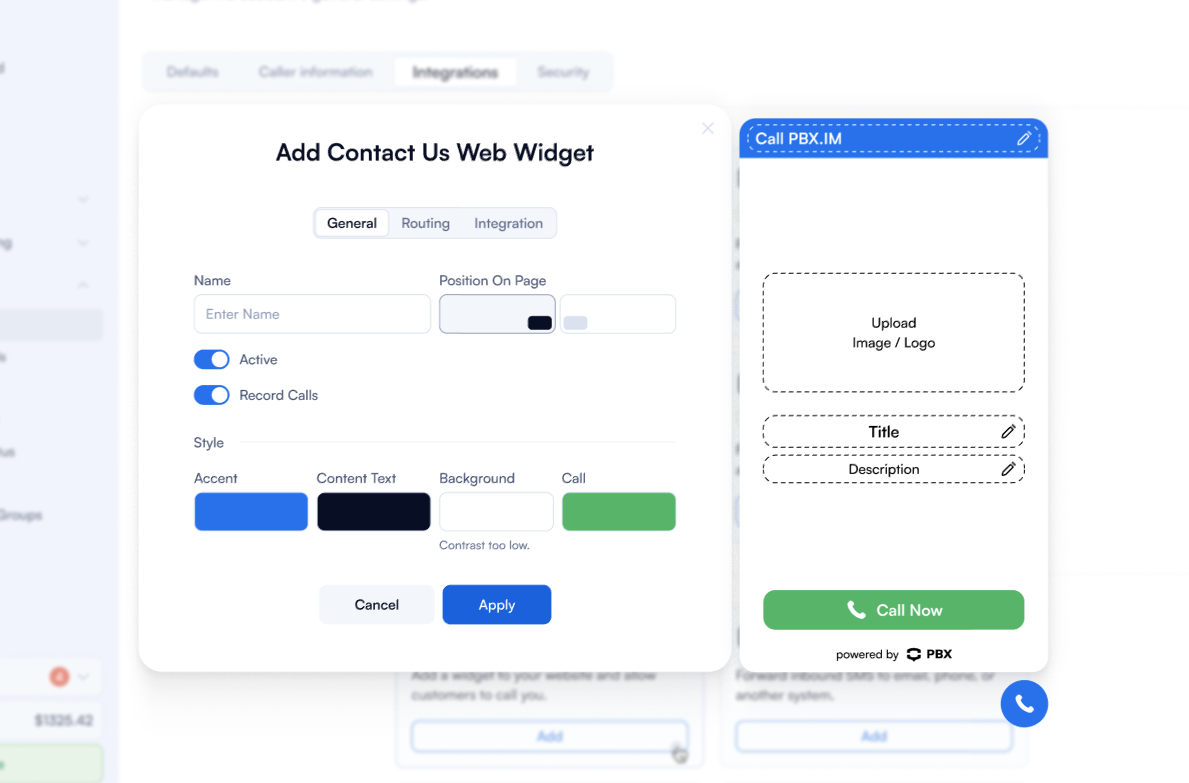
Style Settings Customize the widget's look to match your website's branding:
- Click the color block to open a color picker.
- Select your primary widget color.
- Update logo, title, and description as needed.

Routing Settings
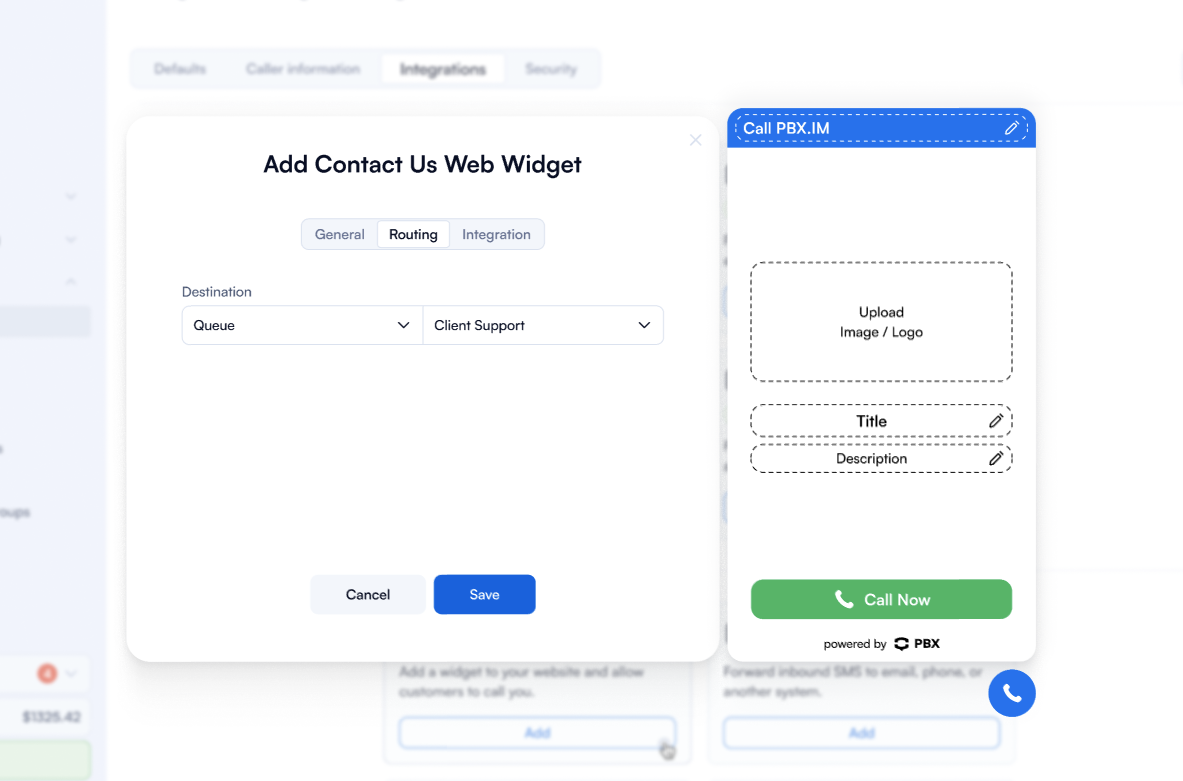
- Navigate to the Routing tab.
- Select the destination (queue, extension, IVR, or any other available option such as a call group, voicemail, or external number).
- When a visitor clicks Call Now, calls will be routed to this destination.
- Click Save to save your settings.
A widget needs a routing destination to work. Until you select one and save, the Call Now button stays disabled for visitors.
Step 3 – Integration & Testing
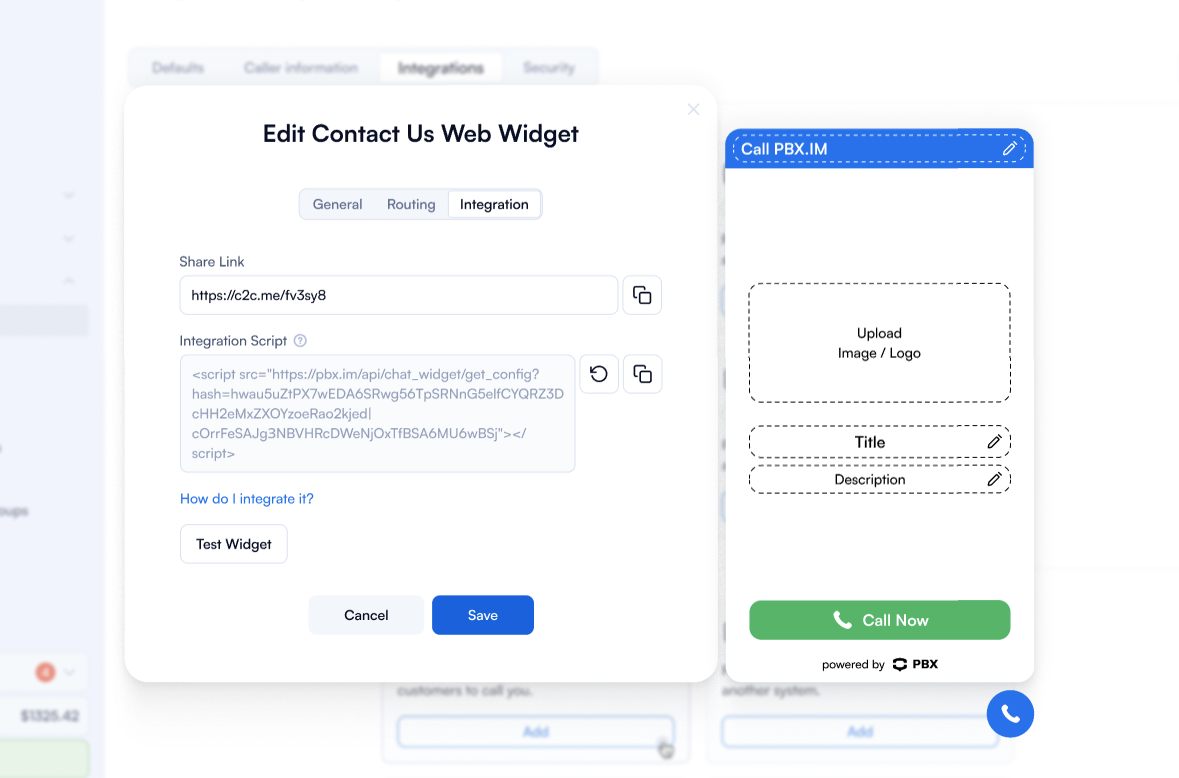
- After saving, open the Integration tab.
- Copy the integration script provided.
- Paste the script into your website’s code (usually before the </body> tag).
- Click Test Widget to preview your live widget in a new tab.
- Verify your configuration and make adjustments if needed.
How to Integrate the Widget Into Your Website
- Copy the integration script from the Integration tab.
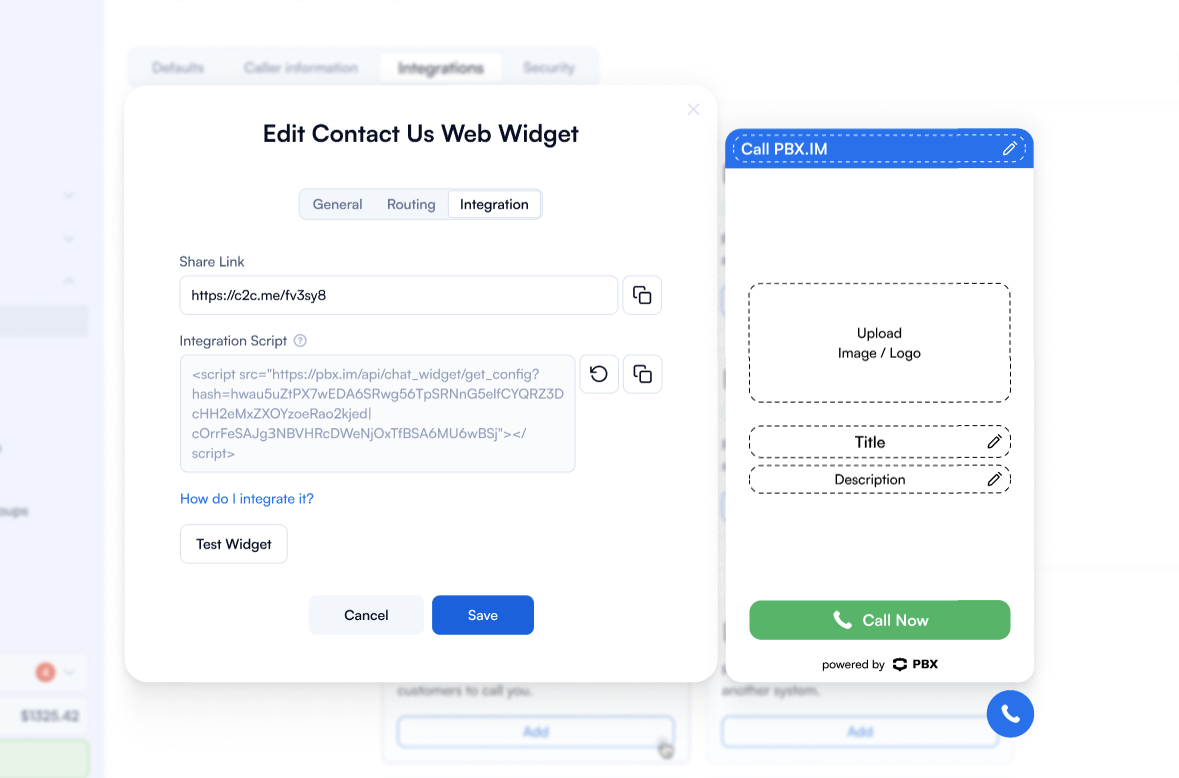
- Paste the script into your website's HTML, ideally before the closing </body> tag.
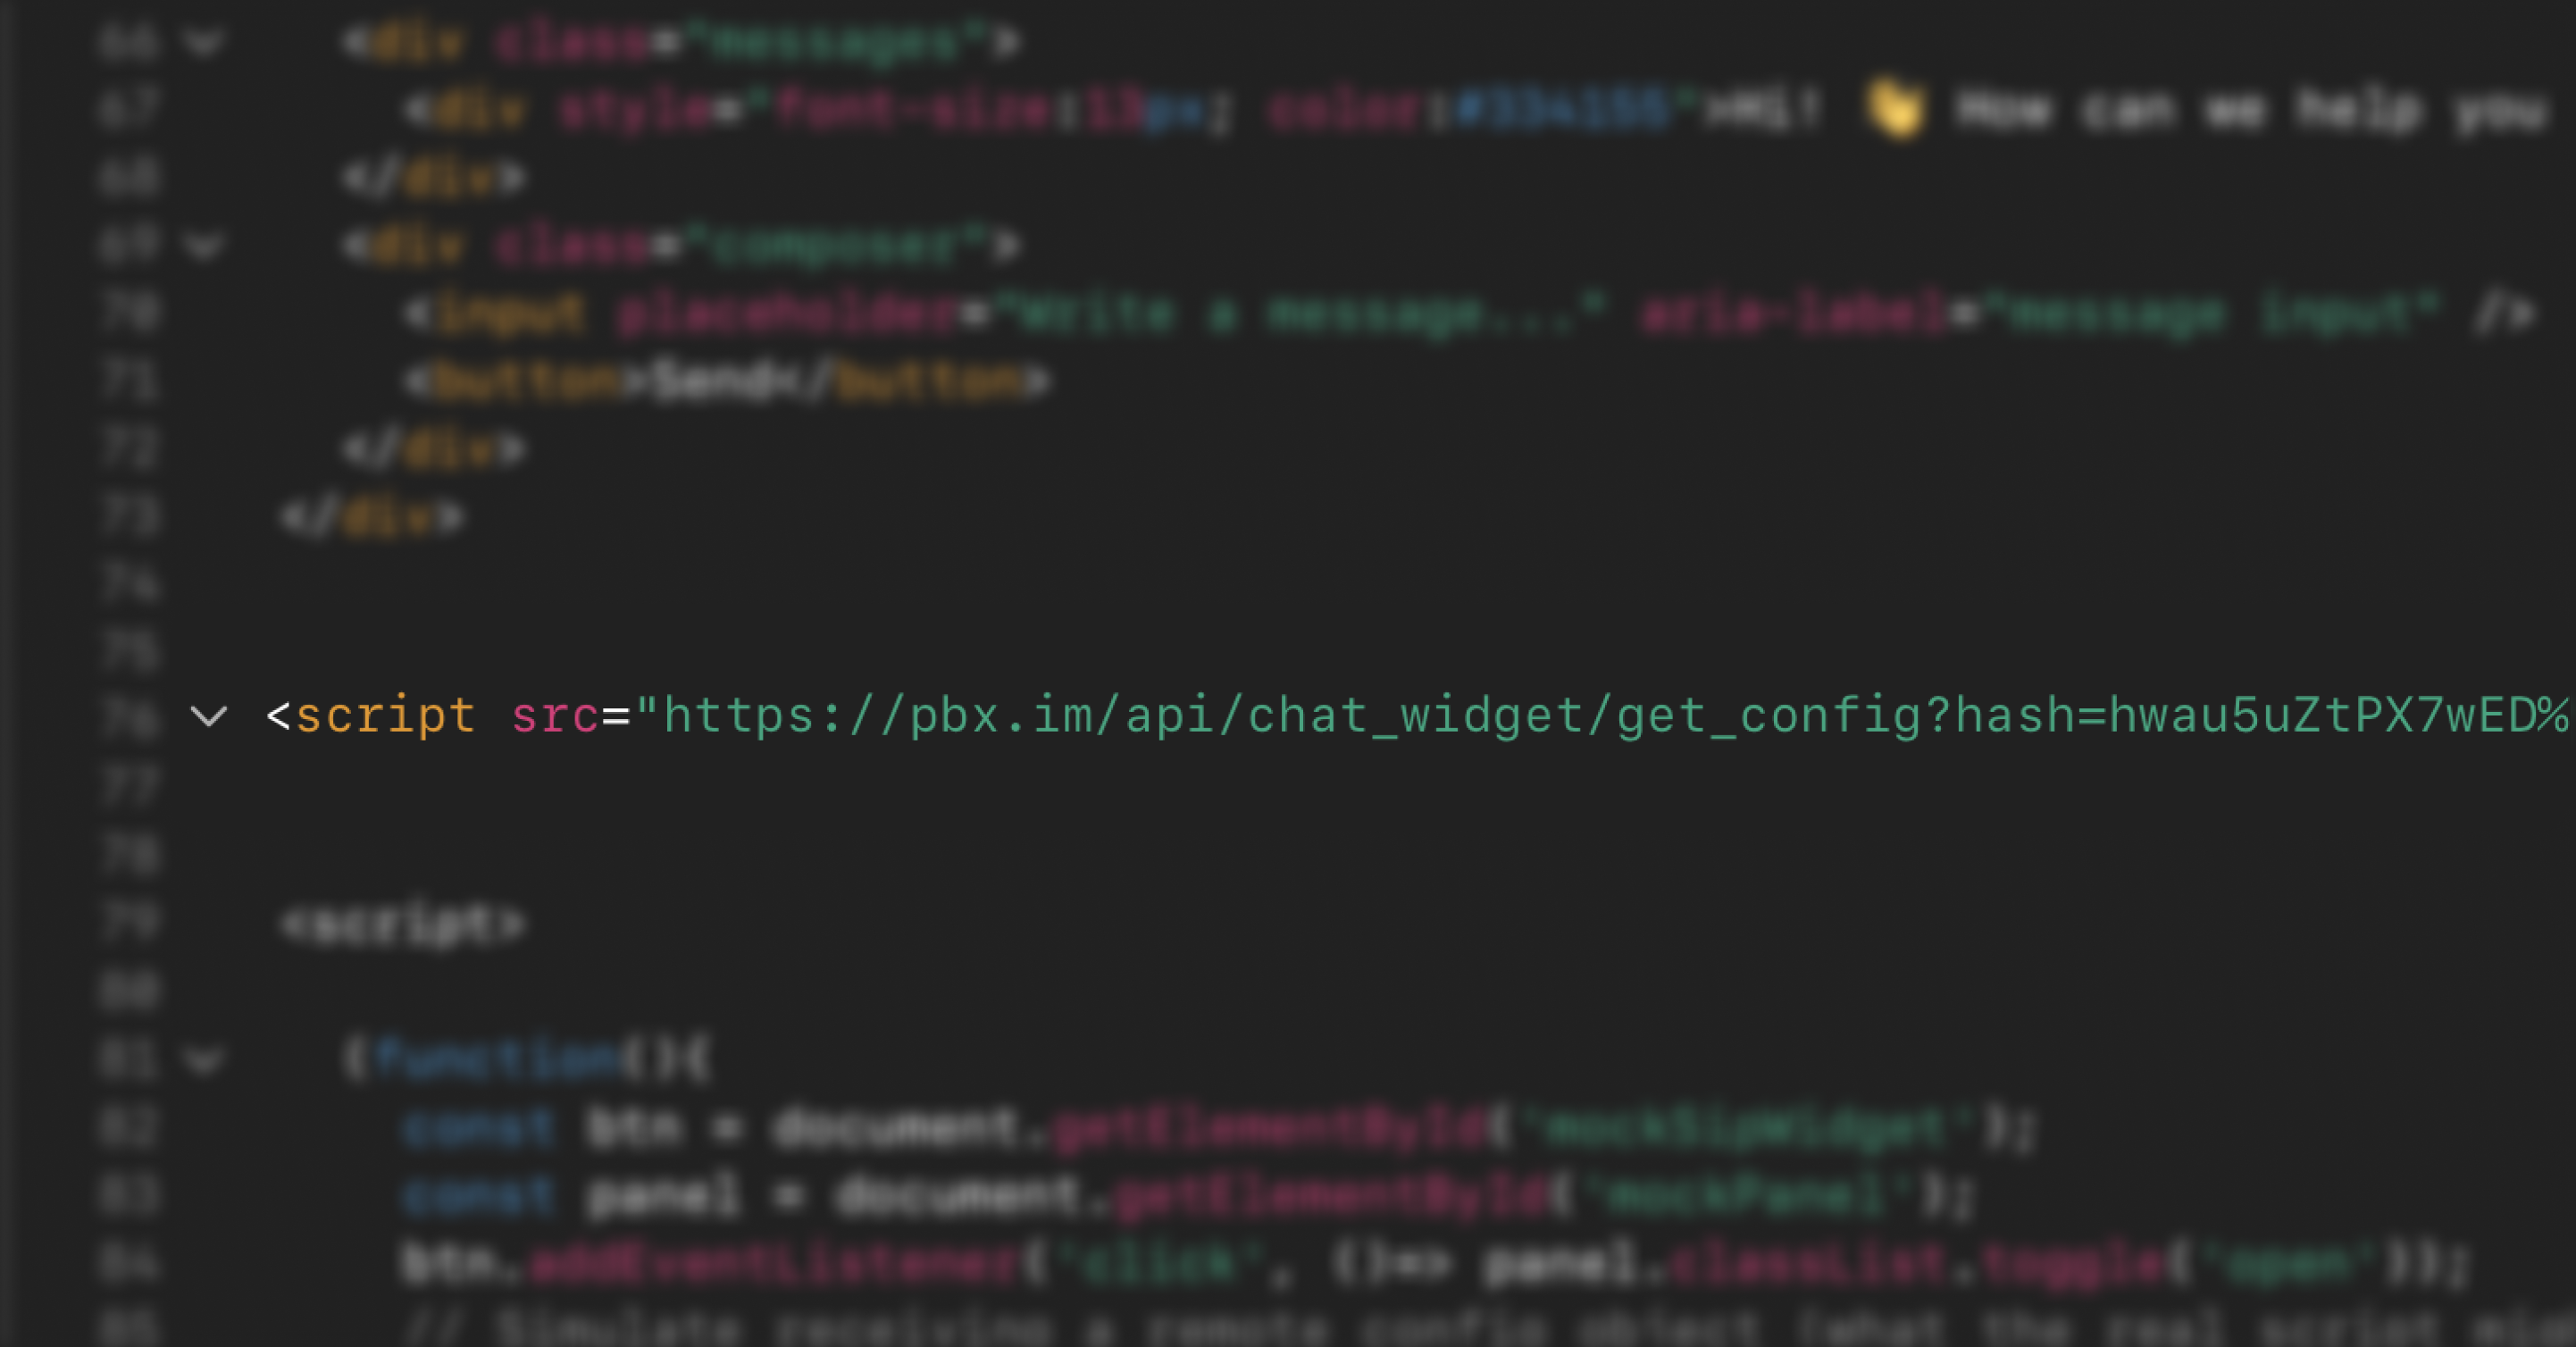
- Refresh your website to see the widget appear.
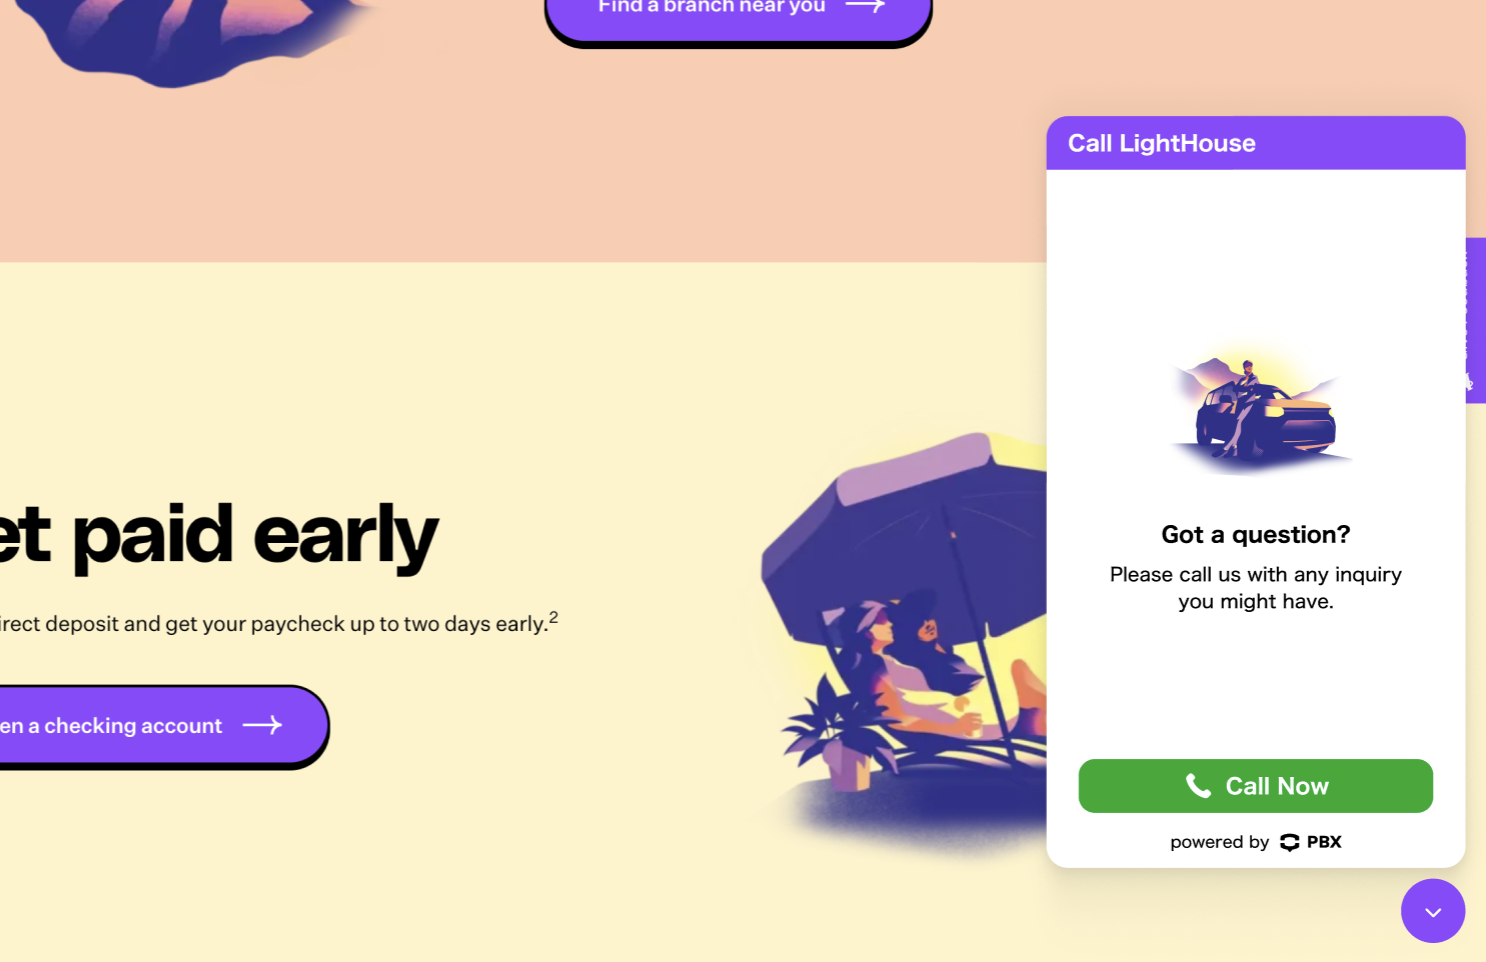
You can preview and test the Contact Us widget using the Test Widget / Shareable Link option. This link is also designed for Agents and Admins to send directly to customers via email or SMS—allowing them to instantly connect with your team with just one click.
What visitors see when they call
When a visitor clicks Call Now, the call is placed right in their browser — there's nothing to install and no account to create. While on the call they can:
- See a calling screen with a live timer once the call connects.
- Mute and unmute their microphone. - Select their speaker and microphone to use the right audio devices.
- Minimize the widget to keep browsing your site while staying on the call.
The first time a visitor places a call, their browser asks for microphone permission — they need to allow it to be heard. The same experience works from the Shareable Link on desktop and mobile.
FAQs
Why isn't the widget showing on my website?
Ensure you've correctly pasted the integration script into your site's code and activated the widget in settings. Also, clear your browser cache before testing.
Can I use the widget on multiple websites?
Yes. You can embed the integration script on multiple domains, but each site will share the same configuration unless separate widgets are created.
How do I disable or remove the widget?
In the widget configuration, toggle Active off. To permanently remove it, delete the widget from the Contact Us Widget section in settings.
Why is the Call Now button greyed out?
The widget doesn't have a routing destination yet. Open the Routing tab, select a destination (queue, extension, IVR, call group, voicemail, or external number), and save.
Do visitors need to install anything or sign up?
No. The widget runs entirely in the visitor's browser. They only need to allow microphone access when their browser prompts for it.
Can visitors mute the call or pick their microphone?
Yes. The calling screen includes mute/unmute and speaker/microphone selection, and visitors can minimize the widget while staying on the call.
Can I record calls made through the widget?
Yes, if you enable Record Calls in the widget settings. Recorded widget calls appear in your Call Logs like any other call.